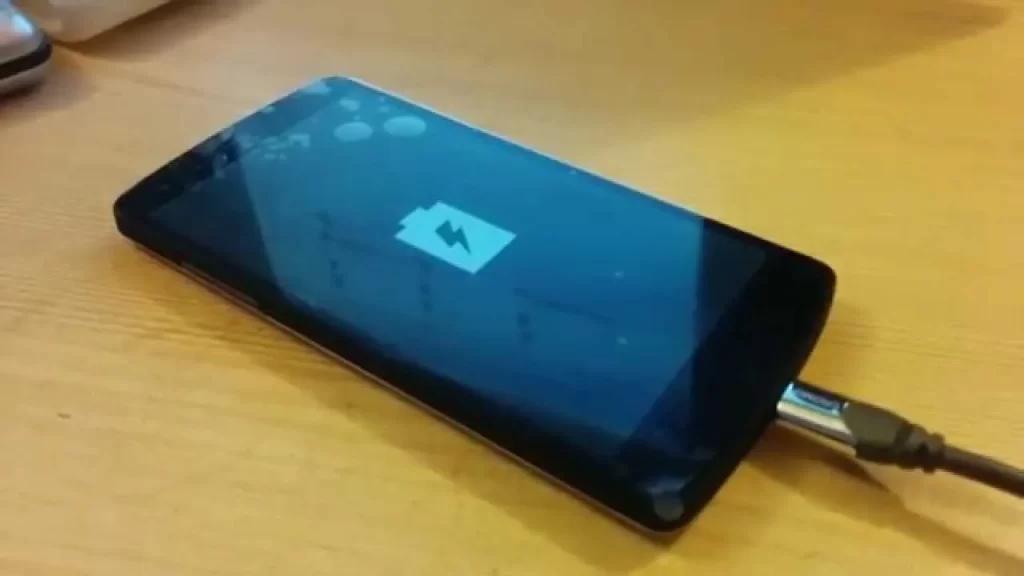
Troubled by the Nexus 5's problems, many people reported that the phone is not turning on. Others reported that the problem occurred after it turned off automatically, while some said their device overheated and then refused to come back on. A smartphone with no power is only as good as a paperweight - an expensive paperweight.
In this article we'll talk about the Nexus 5 and guide you through how to properly troubleshoot your Google Nexus 5 that won't turn on. The basic purpose of troubleshooting is to find out what the problem is and find a solution. Of course, there's no guarantee it will be resolved, especially if it's a hardware problem. However, simply knowing that it is a hardware fault causing it to tell the technician is enough to get the phone fixed.
How To Troubleshoot Nexus 5 or 5X Wont Turn On Before Sending It Away For Repair
Step 1: Plug in Nexus 5 to see if it charges
Sometimes it happens that the battery has just run out. Plugging the device in to charge will answer a few questions that are important to know what the problem really is.
One thing to note here is that once plugged in, try to see if the charging indicator appears on the screen. If it does then our suspicion is confirmed that it is simply a battery draining problem. Leave the phone to charge for at least an hour then try to turn it back on. A phone that charges, turns on.
One more thing to note, if your Nexus 5 won't charge or doesn't show a sign that it's charging, you'll need to troubleshoot that first. If you don't know exactly whether the phone charges or not, you may not be able to troubleshoot power-related issues. As I said earlier, the battery might just be drained so the phone will not turn on.
Step 2: Troubleshoot charging problems (optional)
The first thing we need to know is whether the problem is with the charging unit or power adapter, USB cable or your phone. You have already tried to charge the phone using its original charger but now it is time to connect the device to your computer.
Here your device will not turn on, so it could not be detected by the machine. However, the current that your computer generates should be enough to charge it slowly. If it charges successfully, you need to buy a new charger, otherwise, find a new USB cable and give it a try.
Note that if the phone still refuses to charge even with different charger and USB cable then there is still a possibility that this is just a firmware issue. When the phone is plugged in, electric current does not go directly to the battery; It will pass through a logic board and a series of chips. In short, firmware still plays a big part in this process so if it is faulty then it might affect the ability of the phone to charge properly and this leads us to the third troubleshooting step.
Step 3: Boot the phone in Recovery Mode
Even if you know that the issue lies with the firmware, you may still be able to boot into recovery mode where you can restore your phone to factory settings and get rid of any discrepancies that caused the problem. May be. Here's how you do it…
- Press and hold the Volume Down and Power keys together for 10 seconds or until the phone turns on.
- If the screen lit up and display some text, it is almost certain the problem was with the firmware.
- Press the Volume Down button twice to highlight the option Recovery mode.
- To select it, press the Power key.
- Hold down the Power button and press the Volume Up key to display the Android system recovery menu.
You can perform a master reset on your phone, but the point of this troubleshooting is to find out if the phone is still able to turn on, so you can save that process for later especially if your device has important data Is.
However, if your Nexus 5 couldn’t boot in recovery mode, proceed to the next step.
Final Step: Send the phone in for repair
The biggest problem here is that there is not much you can do for such a phone that your phone will turn on. You have tried all possible troubleshooting procedures to bring it back to life to no avail. So, now is the time to seek professional help as it is almost certain that this is a hardware problem.
Hope you will be satisfied with this article. Don’t forget to bookmark our page if you want to read more games, Tech. updates and news
