Elden Ring: Walking Mausoleum Location Guide
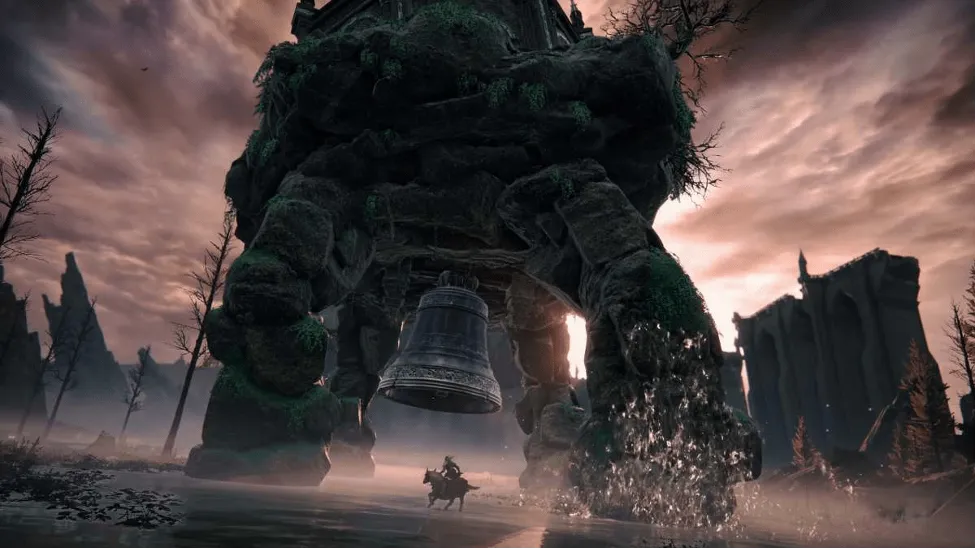
Elden Ring's Lands Between holds within it numerous gigantic creatures walking about, promising a significant reward for those daring enough to unlock the secrets they hold. Among these behemoths are the Walking Mausoleums - massive stone buildings standing on four legs that wander the open fields far above the reach of the Tarnished.
To gain access to the Mausoleums' secrets, you'll need to calm the restless beasts by removing the white patches on their exterior. Within their sanctums, you'll find coffins that contain Remembrances of certain bosses. Interacting with these coffins will enable you to duplicate the Remembrances so you can take them to the Finger Reader, Enia, in Roundtable Hold and receive additional rewards.
Here is a guide to help you locate the Walking Mausoleums in Elden Ring's Lands Between:
Weeping Peninsula Walking Mausoleum
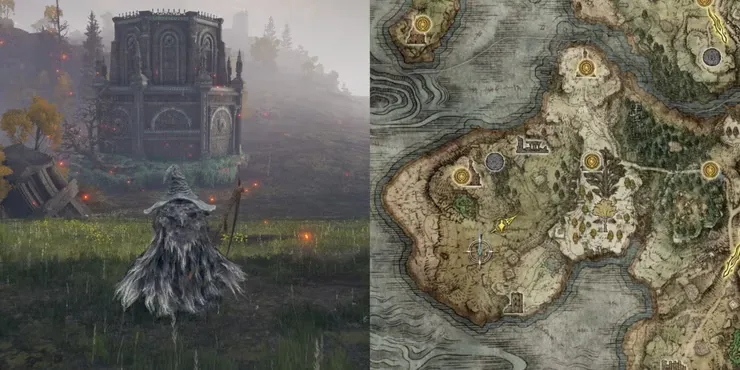
This is the first Walking Mausoleum that players usually come across. It is located in the vast open field south of the Fourth Church of Marika, and you can hear its bell tolling from the main road eastwards on your way to Castle Morne to complete Irina's quest. It's the easiest of the Mausoleums to find, and you can ride Torrent to strike the white patches on the Mausoleum's feet.
Liurnia Walking Mausoleums
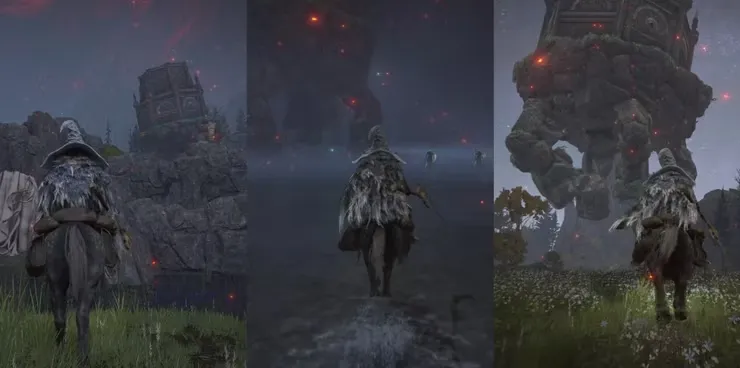
There are two sets of Walking Mausoleums in Liurnia:
- Near Raya Lucaria and Bellum Highway in the swamp.
- In the north of the Ruined Labyrinth near the Mausoleum Compound.
Bellum Highway Walking Mausoleum
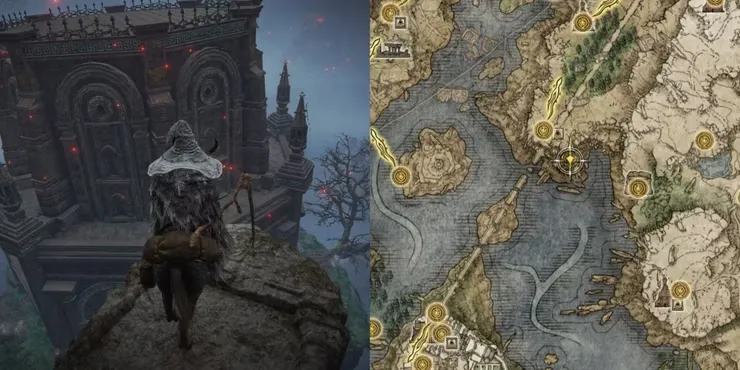
This is the trickiest Walking Mausoleum to enter compared to the others. To get inside, you need to climb the cliffs near the Bellum Highway and jump from the gravestones on the cliffside onto the Mausoleum once it gets close enough. There are two ways to approach the cliffs:
- Come from the Sorcerer's Isle Site of Grace and use the air pocket on the cliffside with Torrent to reach the top.
- Use the East Raya Lucaria Gate Site of Grace and walk to the cliffside from there. If you leave the East Raya Lucaria Gate Site of Grace at night and haven't defeated it yet, a Night's Cavalry will attack you.
Once you reach the bottom third of the gravestones, wait until the Mausoleum has walked over to you before jumping onto the side of the Mausoleum to clear the white patches and open the door.
Mausoleum Compound Walking Mausoleums
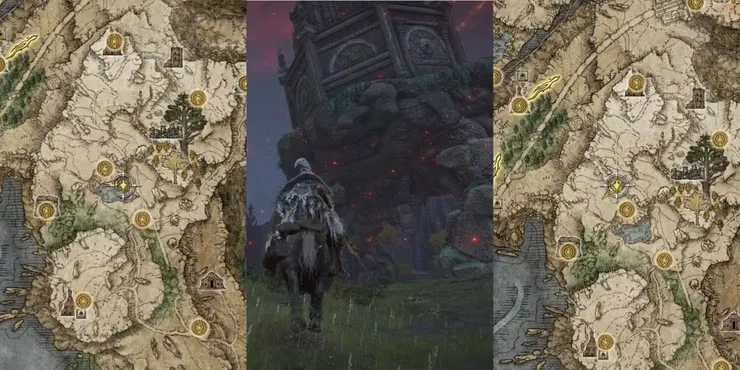
There are two Mausoleums in this area that are slightly tricky to get to. Typically, you'll need to fight through the Ruined Labyrinth and come across the first Mausoleum in the field there. The second Mausoleum is located in the plateau directly above it. Although there are no guards surrounding them, these Mausoleums have a strange tendency to jump. You'll need to clear their feet of white patches in between jumps and run away when it begins to crouch to avoid being hit by the shockwave when it lands. According to Leviathan, these Walking Mausoleums stop jumping and stomping around to rest during the Late Night phase of the in-game time cycle until morning.
Deeproot Depths Walking Mausoleum
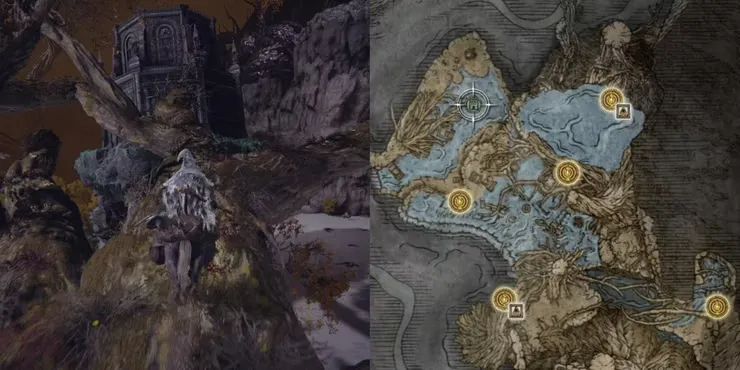
Located in the northmost area of the Deeproot Depths, this Mausoleum sits in a watery basin and is accessible via two complicated routes. To reach it, you'll need to jump onto the Mausoleum using the roots directly next to it, but watch out for Death Blight creatures and walking guards in your way.
Once you reach the Mausoleum, clean the white patches around its exterior to progress. Fortunately, the jump onto this Mausoleum is much simpler than the one at the Bellum Highway Walking Mausoleum. You can also ignore the Death Blight creatures and walking guards by dashing past them on Torrent.
Mountain Tops Of The Giants Walking Mausoleum
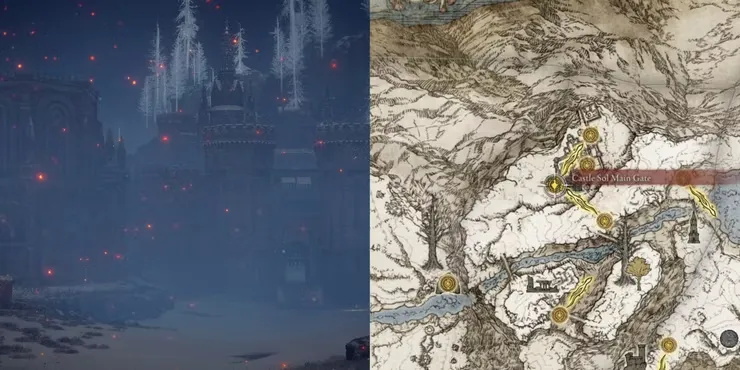
This Mausoleum is located near the Castle Sol Main Gate Site of Grace in the Mountain Tops of the Giants region. The approach to it is more challenging than other Walking Mausoleums, as lightning continuously strikes around you as you approach the castle and strike its feet.
To access the Mausoleum, it is recommended to touch the nearby Site of Grace first to avoid being caught off-guard by the lightning and Mausoleum's walking shockwaves. Then, strike at its feet until it begins to sit. Be cautious, as the lightning will continue even after the Mausoleum is resting. Enter it quickly to avoid being struck.
If you want to defeat the Mountain Tops of the Giants Walking Mausoleum quickly, use the Wave of Gold weapon skill to hit all of its feet at once and essentially one-shot it.
Consecrated Snowfield Walking Mausoleum
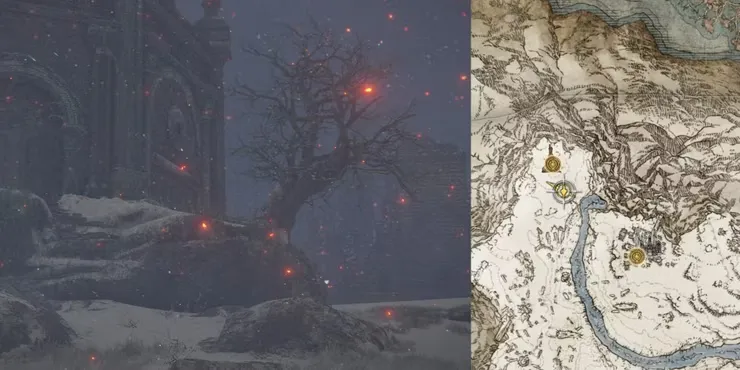
The Consecrated Snowfield Walking Mausoleum is located on a hill just outside the Apostate Derelict in the far northern side of the region. To access it, follow the frozen river northward and then branch off to the left when you hear the Walking Mausoleum's bell and see it in the distance.
This Mausoleum shoots a barrage of ice magic at you as you approach, so be sure to be on Torrent and sprint quickly toward it. Once close enough, run under the Walking Mausoleum where its attacks cannot reach you. This area is the safest place to run on Torrent while trying to clear it of the white patches on its feet.
Be careful not to get caught under the Walking Mausoleum's walking feet. Once you hear the magic stop and the Mausoleum pauses in its walking, run away to avoid being crushed by it. Then, you can access the final Mausoleum.
Conclusion
In conclusion, conquering the Walking Mausoleums in Nioh 2 can be a fun and rewarding challenge. By using the tips and tricks in our guide, you'll be able to clear all three Mausoleums and progress through the game with confidence. Happy hunting!
Hope you will be satisfied with this article. Don’t forget to bookmark our page if you want to read more Tech, game updates, and entertainment news
Disclaimer: The above information is for general informational purposes only. All information on the Site is provided in good faith, however, we make no representation or warranty of any kind, express or implied, regarding the accuracy, adequacy, validity, reliability, availability or completeness of any information on the Site.
