

If your favorite game is also Solar Ash and you haven't had the pleasure of trying out Heart Machine's latest title, Solar Ash, you're missing out because it's one of the best titles of the year. Additionally, the game comes with tons of achievements and collectibles that can be found in the map, and help you unlock rewards such as suits. This guide will help you find these collectibles on one of the maps in the Broken Capital.
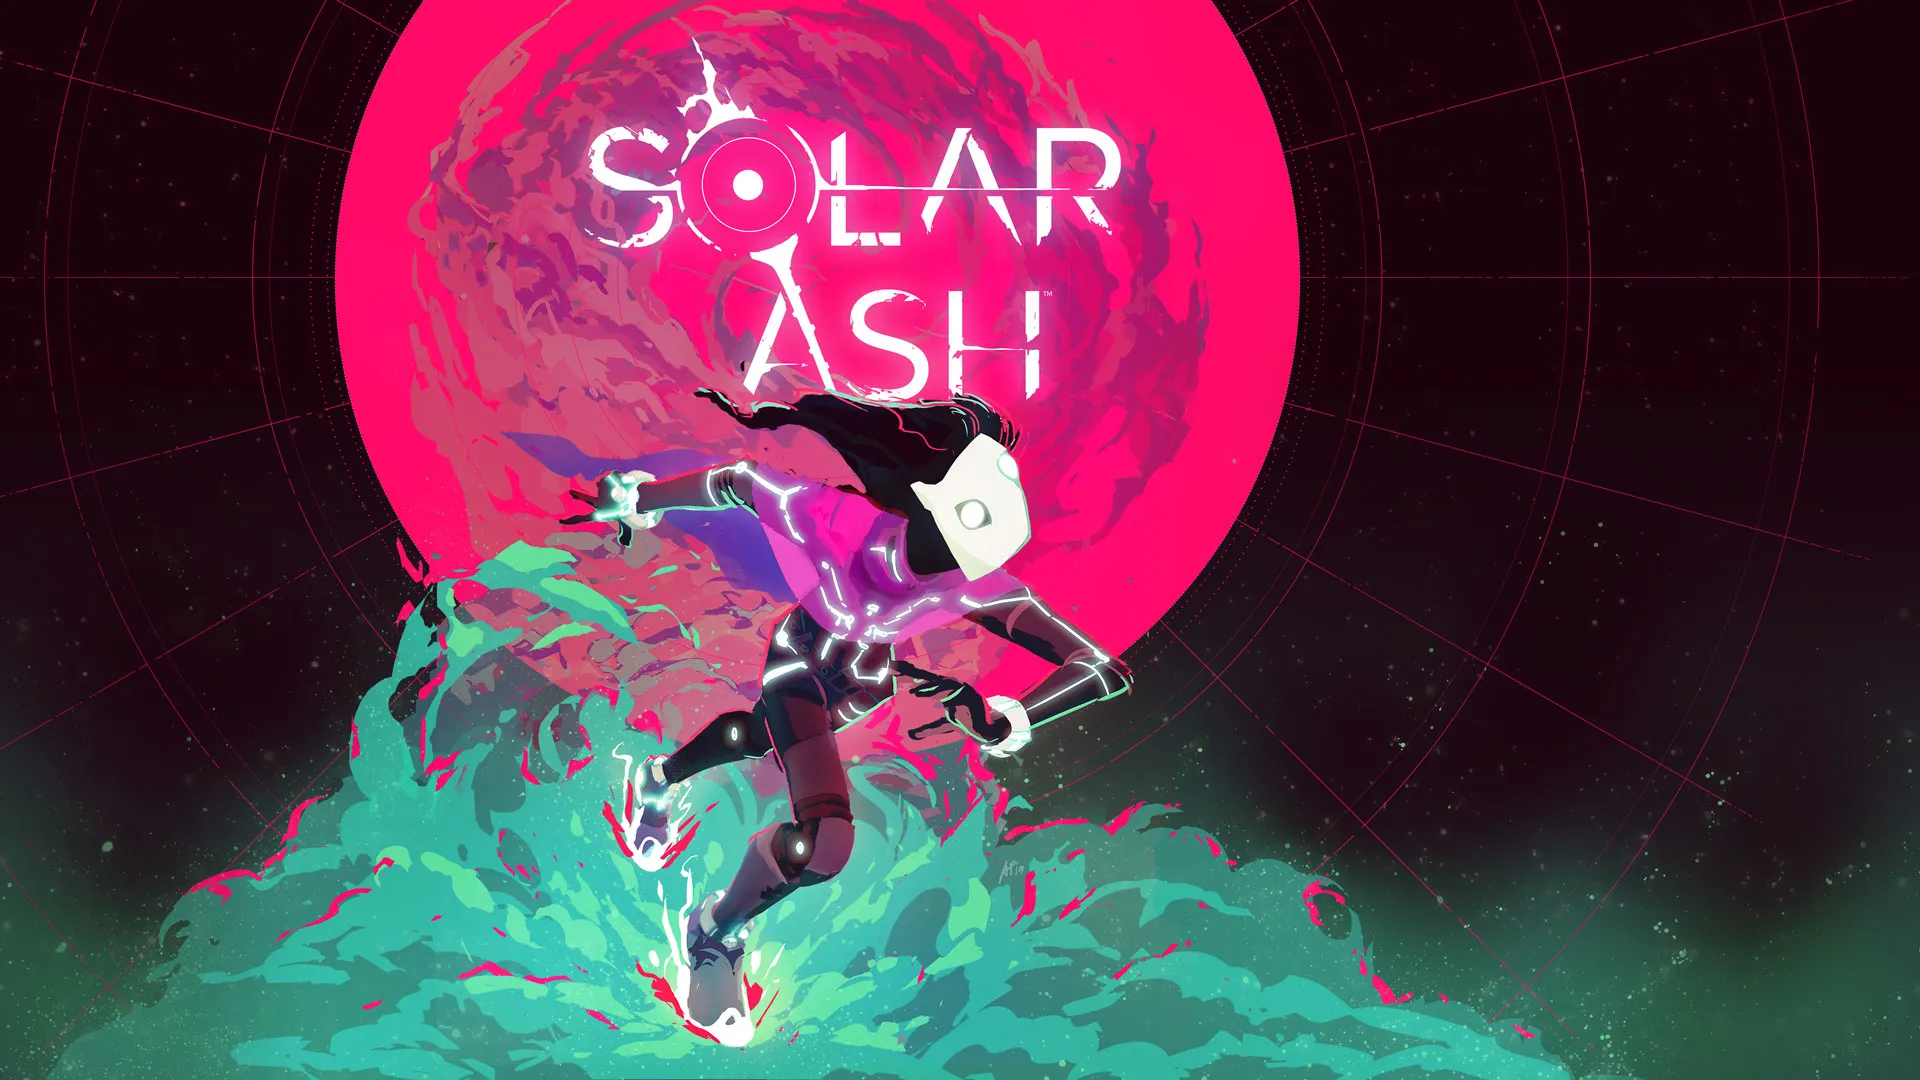
For information, let us tell you that Solar Ash takes us on a journey after the last remaining Widerunner, Rei, to save our home from powerful invaders. The game, which came out earlier this year, has been received very positively by players across the globe and that's right, as it brings a breath of fresh air to your traditional open-world hack and slash game.
Solar Ash: All Void Runner Stashes Locations in Broken Capital

The Broken Capital is amongst the most beautiful locations you can find in the game, houses to the very first set of VoidRunner stashes collectible that you can find in-game. Here is a guide on how to get to every collectible in this location:
Number 1:
As soon as you leave the crater and get into the area of the Broken Capital, the first collectible can be found on the right of the region. Turn right and you should see a big tree. Start making your way towards it.
After reaching the tree, do not stop and continue moving forward till you get to the next platform with another tree. The first collectible is located here.
Number 2:
The second collectible can be found after you have unlocked both shortcut rails at the entrance area of the Broken Capital. Once you have unlocked the second rail, go to the top of it and navigate your way to the back of the small chamber.
Here you will come across a window where you have to jump out off and start making your way to the left with the help of platforms available till you make it to a wall of black sticky goo.
Start scaling the wall with the help of the goo, and on top of it, you will be able to find the second collectible.
Number 3:
The third collectible is located a little further into the region. You would have to cross the memorial fountain and the tree entrance to the second area of Broken Capital to get to this collectible. To get there, take the grind rail right of Cyd.
You’ll only have to go halfway on the rail as you would need to dismount when you see a grapple point you can snag on to.
After grappling, swing yourself towards the black sticky goo and the wall and start scaling your way up.
Once you reach the top, you will enter a new area with the third collectible right in front of you.
Number 4:
To get to the next collectible, you would have to make your way back to Cyd and go to the right side of the map. Keep moving forward till you reach the far end of the area. Here you will see a Forlorn bus with a grind rail next to it. Jump on the rail.
The rail will take you to a skyscraper in the area but you will be faced with a few Remnants inside the building.
After defeating the two remnants in the area, the region blocked off by the goo will open up and you can find the fourth VoidRunner stash at the far end of it.
Number 5:
The final collectible in the Broken Capital region will require you to put in some extra effort to reach. This is why we have decided to make a step-by-step for this particular collectible, to make the process easier for you.
- Head straight across Cyd’s Platform till you reach the subway rails.
- Grind on the rails while avoiding the cars on the way.
- Once you have grinded your way across, you will find yourself infront of that sticky black goo again.
- Start scaling your way up the goo till you reach the roof, where you will be faced off against a few remnants.
- On the other side of the roof, you will see a part of a building. Jump on it.
- Once on this block, you will come across a gap joined with a few grapple points.
- Grapple your way across till you reach the area where the final collectible rests.
- Once here, all you need to do now is to activate the final VoidRunner stash.
Collecting all these stashes was loads of fun and came along with a provide you with the VoidRunner squad leader suit, the Erving’s suit, which provides you with double the plasma intake in the Ultravoid, making it well worth the efforts you have put in.
Hope you will be satisfied with this article. Don’t forget to bookmark our page if you want to read more game updates and news